For Kids: How to Measure Head For Helmet
How to Measure For Helmet Quick Links:
- How do you measure head circumference for a helmet?
- How do you know what size helmet to buy?
- Securing your child’s helmet
- What makes a good helmet?
- Don’t let your kid outgrow their helmet!
- Other ways to keep your child safe
How to Measure Your Child's Head For Helmet Sizing
Think sizing and fitting a helmet is easy? It certainly should be. Visit any busy playground and you’ll see…
- Oversized helmets slipping around as kids move.
- Undersized helmets pinching kids’ heads.
- Helmets sliding back, exposing kids’ foreheads.
- Helmets worn backwards.
- No helmet at all (the worst)!
In other words, getting a child’s helmet right is harder than it looks! That’s why we built this straightforward guide to helmet sizing. We’ll explore how to measure your kid’s head for a helmet, how to test a helmet for a good fit, and how to fasten it securely without making those all-too-common mistakes.
How do you measure head circumference for a helmet?
The first step in buying a helmet that will truly protect your child’s precious noggin is measuring the circumference of their head. When it comes to bike safety for kids, every reliable bike helmet guide bases its sizing on this number. Just get a flexible tape measure and follow these instructions:
- Start measuring just above the ear.
- Wrap the tape measure around their head, passing 1” above the eyebrows in front, above the other ear, and around the back of the head.
- Write down the measurement where the tape meets itself
That’s it! This is the circumference of your child’s head. The process is the same if you want to measure your own head circumference as an adult - but it certainly helps to have another person give you a hand.
Tip: How to measure without measuring tape
Don’t have a flexible tape measure? You can also measure your child’s head with a piece of ribbon or phone charger. Just wrap it around their head like you would a measuring tape, mark it or cut it, and measure the string against a ruler. This method isn’t quite as accurate, but it’ll work in a pinch.
How do you know what size helmet to buy?
So now that you know your child’s head circumference, how do you find a helmet with the proper fit?
Start by taking a look at your chosen helmet brand’s sizing guide. Some brands size their helmets by age, while others simply group them as small, medium, large, etc. Helmet brands will also provide circumference measurements. For example, here are the circumference ranges for Nutcase helmets:
- Extra Small: 18 in – 20.5 in
- Small: 20.5 – 22 in
- Medium: 22 in – 23.5 in
If your child’s head circumference works with two different sizes (e.g. their head circumference is 22 inches), get the larger of the two. That way, they’ll be able to use the helmet as they grow.
How to ensure a snug fit
Bike helmets are rarely a perfect fit right out of the box. You’ll usually need to adjust them to get a tight, snug fit that stays put on your child’s head without sliding or pinching. Here are the two major ways that it’s done:
- A spin dial fit mechanism allows you to adjust the helmet’s interior shape instantly. This feature is only found on higher-end kids’ helmets.
- Sticky padding foam adds bulk to the interior of a helmet. This can be combined with a spin dial to ensure a good fit all the way around.
Securing your child’s helmet
Now that you’ve purchased the right helmet, it’s time to get it fastened on properly. This is where many parents make mistakes, so read carefully:
- Place the helmet properly on the head, facing forwards (not backwards). The front of the helmet should sit two finger widths above the eyebrows (or the frames of your child’s glasses, if they wear them). If a helmet is too far forward, your child won’t be able to see clearly. If it’s too far back, it won’t protect their face and forehead in the event of a fall.

- Adjust to find the right fit.
- Remove ponytails, barrettes, and other accessories that your child won’t wear on every bike ride.
- Adjust the dial (if included). Turn it until the helmet is snug yet comfortable.
- If needed, add padding to make sure there is adequate protection all around the head.
- Adjust the straps. This part is crucial to ensure the helmet stays in the right position on your child’s head.
- Adjust the ‘Y’ of the strap to meet just below the ear.
- The chin strap should be comfortable, yet snug enough that when your child opens their mouth, it tugs a bit. Yet it should be loose enough that they can slip a finger inside the strap.
- Test it out. Have your child shake their head vigorously to see if the helmet stays firmly in place. Remember, the goal is for the helmet to remain secure during an impact or fall. If they can shake it off in the living room, it will be useless during a real accident.
- Check it periodically. The straps may gradually loosen and the padding will get compressed over time, so it’s important to keep a close eye on your child’s helmet. Make sure it stays secure and adjust the straps and spin dial as necessary.

What makes a good helmet?
Not all children’s helmets are created equal! Some manufacturers use cheap, low-quality materials to keep costs down, in hopes that parents won’t know the difference.
Needless to say, investing in a high-quality helmet is worth every penny. After all, about 1,000 kids are admitted to the ER after a bike accident every day. With the right helmet, you know that your kid’s safety is in good hands.
So what should you look for in a premium-quality child’s helmet? Here are 4 key features:
- A spin dial. While the padding is an essential element in fit, foam can degrade and compress over time. A spin dial minimizes the amount of foam you need, making the helmet safer overall. It also allows you to easily adjust the helmet as your child grows.
- Multi-directional Impact Protection System (MIPS) technology. This high-tech system puts a special slip-frame inside the helmet. If there’s an impact, it can reduce the amount of rotational force transmitted to your child’s head.
- Expanded Polystyrene (EPS) liner. This special kind of styrofoam can distribute the force of an impact.
- Vents. This is a decidedly low-tech feature, but not all helmets have them! Vents help your kid stay cool on the go, and make the helmet much more pleasant to wear.
Don’t let your kid outgrow their helmet!
Sometimes, your child comes in for breakfast and it seems like they’ve grown an inch overnight. That's why - as we mentioned above - it’s essential to check your child’s helmet frequently and ensure a proper fit. As they continue to grow, adjust the spin dial and remove padding to keep it snug.
Eventually, of course, your kid will need a bigger helmet. Your job is to see that day coming and beat them to it. It may be tempting to get a few extra months of wear out of your child’s gear - but this really isn’t the place to cut corners. An undersized helmet won’t fit properly, and may not protect your kid during an accident. If it’s uncomfortably tight, they’re more likely to forget (or “forget”) to wear it.
So keep an eye on your child’s growth and have that new helmet ready before they need it. This way, graduating up to a new size can be a fun milestone for both of you. As always, the peace of mind you’ll have knowing that your kid is safe and sound will be worth every penny.
Other ways to keep your child safe
What’s even better than protecting your child’s head during an accident? Preventing that accident in the first place.
The simplest and most effective way to do that is to invest in better brakes. Many children’s bikes come with pedal brakes (aka “coaster brakes”). Because these brakes have only two settings, “on” and “off,” they don’t allow the rider to slow down gradually or control their speed. They also don’t let children backpedal, which is a normal pedaling technique most first-time riders use to help balance.
Traditional, two-handed brakes aren’t much better, as they require your child to stay coordinated during moments of panic. If your kid squeezes just the left or right brake, this can result in skidding or a head-over-handlebars accident.
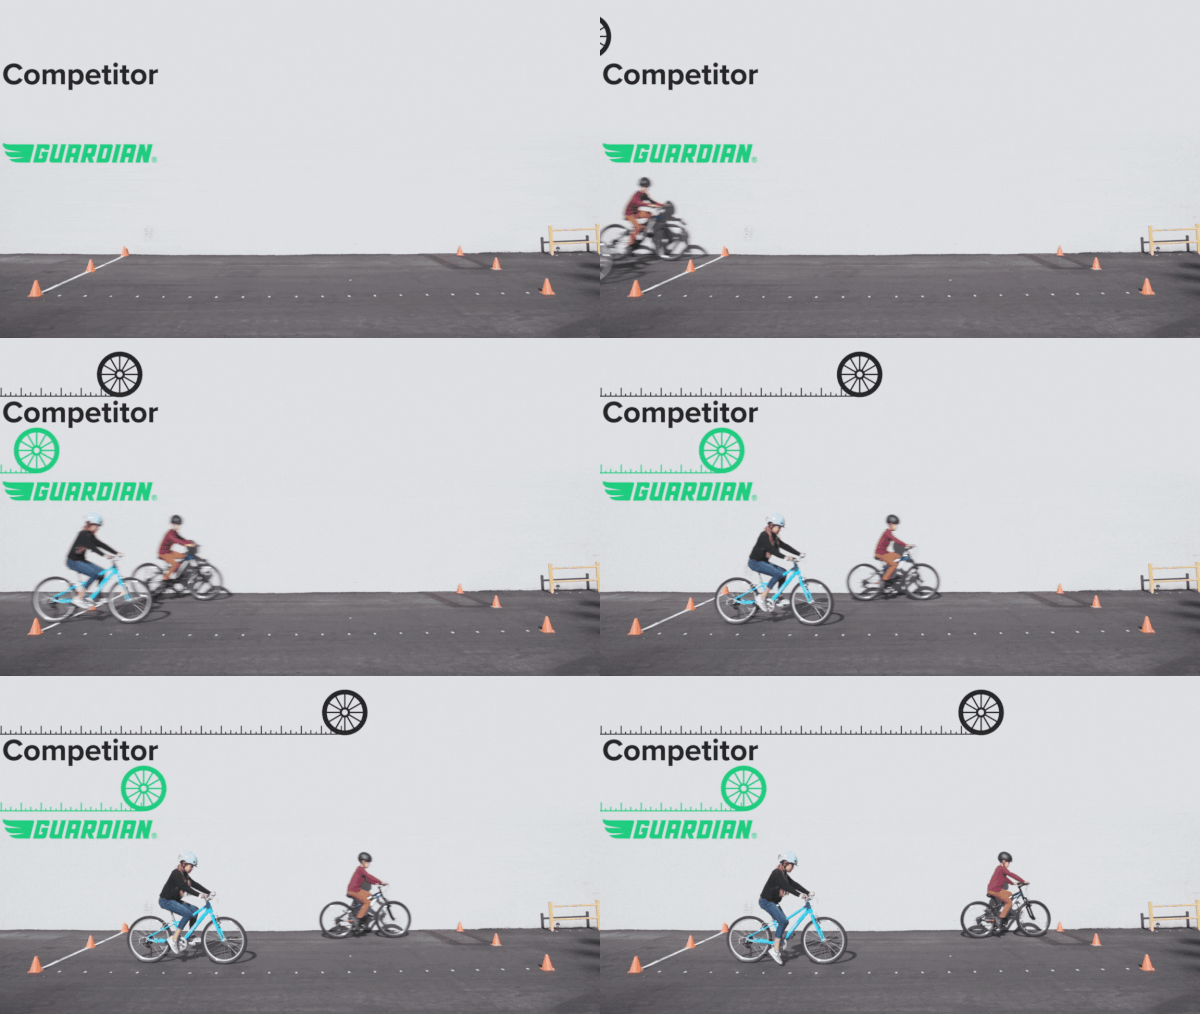
The solution? Look for the award-winning SureStop brake from Guardian Bikes. It gives your child one simple handbrake to squeeze, and intelligently distributes braking pressure between the front and rear wheel. This helps kids stop sooner and stay safer.
Sources:
“How to Fit a Bicycle Helmet.” Helmets.org. https://helmets.org/fit.htm. Accessed 11 June, 2020.
How MIPS Works. MIPS Protection. https://mipsprotection.com/how-mips-works. Accessed 15 June, 2020.


