The Ultimate Guide to Bike Safety For Kids
The Ultimate Guide to Bike Safety For Kids
As a parent, the anxiety that comes from watching your child pedal off on their bicycle can be crippling.
Sure, you want your child to get exercise, build confidence, and get around on their own. But you also want to make sure they don’t end up in the emergency room. How do you make sure your child is safe and secure on their bike without dampening the fun?
At Guardian Bikes, we know where you’re coming from, so we’ve made it our mission to build the world’s safest bikes. In this guide, we’ll review the fundamentals of bike safety for kids, learn which protective gear to buy, and explore how to choose the safest bike for your little cyclist.
What should kids wear for bike safety?
Our first rule: Don’t start without the proper equipment! You must introduce bike safety gear when your child is first learning to ride, so it becomes a habit that sticks. Here are the essentials:
- Helmet: A properly fitted helmet is essential to keep your kid’s cranium safe and sound.
- Knee and elbow pads: Hard padding will protect your child’s legs and arms from painful scrapes while absorbing some of the impact if they fall.
- Good shoes: Closed-toed shoes are a must. Never let your kids ride barefoot or in sandals, as this reduces their grip on the pedals and puts their feet in danger.
-
Gloves: Cycling gloves help protect the palms if your kids fall off their bikes and land on their hands. Gloves also improve handlebar grip.
Helmet tips
Knowing how to choose, fasten, and care for your child’s helmet is another basic of bike safety. Here are some quick-and-easy helmet tips to ensure your little one’s brain is protected:

- Don’t let your kid push the helmet back. It should cover their forehead for full protection.
- For the right fit, make sure the helmet sits no more than two fingers above your kid’s eyes, the “V” on the straps hangs just below their ears, and you can fit no more than one to two fingers between their chin and the strap.
- Straps must stay fastened at all times.
- Take good care of the helmet to prevent further damage - try to avoid swinging, throwing, or bumping it.
- To ensure they keep the helmet on while riding, choose a helmet with a fun, kid-approved design. At Guardian Bikes, we sell Nutcase helmets for that exact reason.
- Most helmets can last from 3-5 years but should be replaced them if they no longer fit properly, and after any serious accident (even if the helmet doesn’t appear damaged).

How to pick the safest bike for your kid
Once your child is armored up, it’s time to put their bike to the test. Several factors determine how safe a bike is, including:
- Brakes
- Weight
- Sizing
- Bells
- Setup
- Bike geometry
Brakes
When it comes to preventing bike-related injuries, brakes are the crucial factor. Here are some of the main brake types you’ll see:
-
Coaster brakes: These brakes are activated when pedaled backwards. While this used to be thought of as the “standard” for kids’ bike brakes, these are have weak braking power resulting in long stopping distances.
-
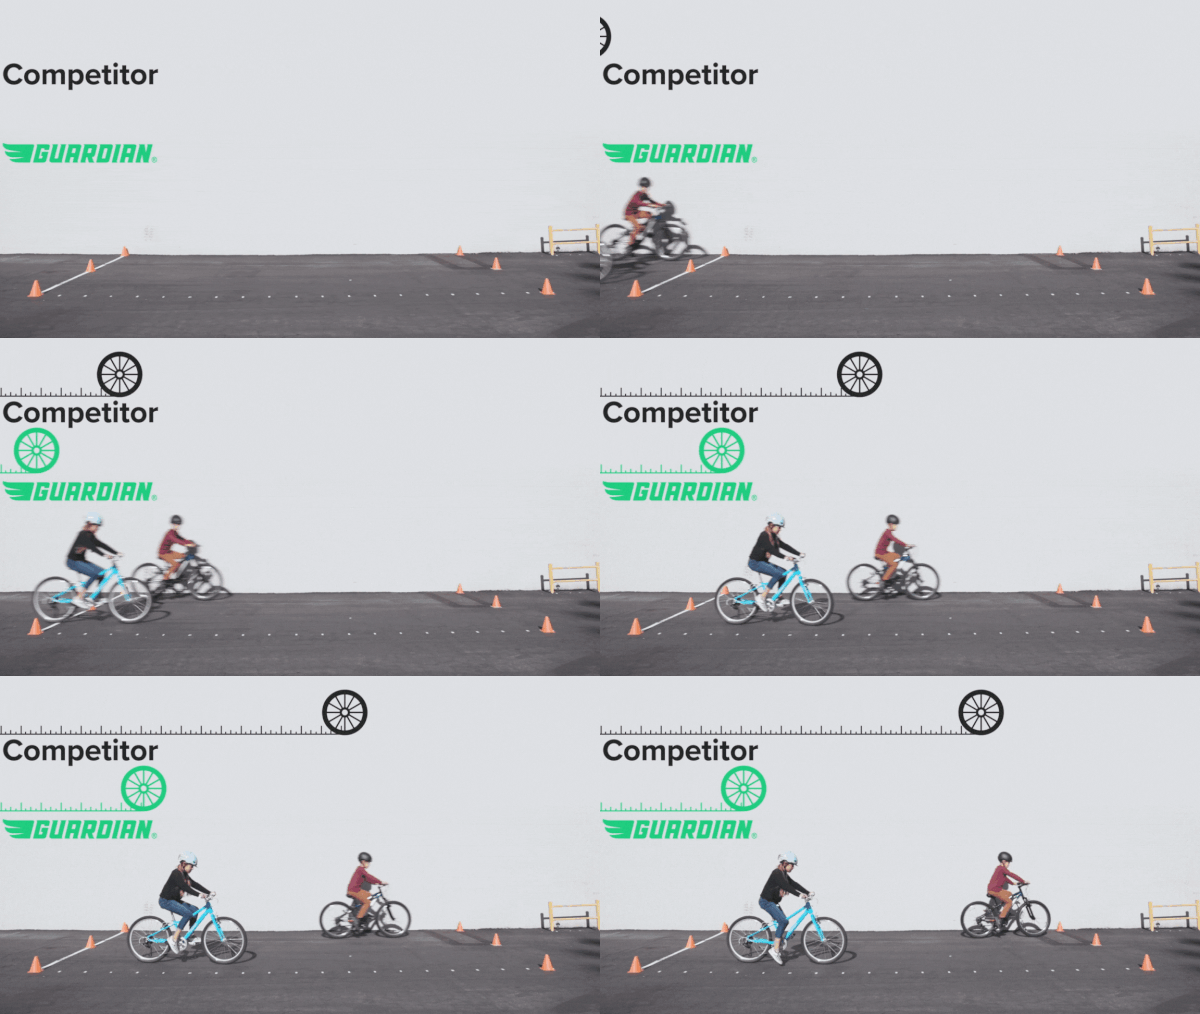
Front and rear two-hand brakes: While these are more intuitive than coaster brakes, they can still be difficult (and even unsafe) for new riders. If a child puts too much pressure on either one of the brakes, it can cause skidding or head-over-handlebars accidents. Plus, the low-quality hand brakes found on mass-produced, store-bought bikes are often poorly designed, making them difficult for children to squeeze.

Bike Weight
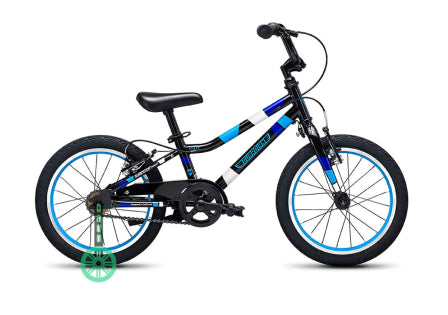
Your child’s bike should be less than half your child’s weight. Mass-market bikes are often heavy and clunky, sometimes clocking in at 75% of the child’s own weight. Imagine that as an adult! This makes them difficult to control, which can be both frustrating for your kid and dangerous. Guardian Bikes uses lightweight materials and higher quality parts so your kid's bike is durable and extremely lightweight.
Sizing
For beginners riding their first pedal bike, the seat height should be about two to three inches above your kid’s inseam. This allows them to easily place their feet on the ground if they’re feeling off-balance. Once they’re ready to move onto their second pedal bike, the seat height should line up with their inseam. Check out our kids’ bike sizing guide for more details.
Check out Guardian Bikes’s simple sizing tool to find the right bike size for your child in minutes, using their inseam, height, and level of confidence.
Bells
Bells are a simple but necessary accessory for young learners as they learn how to ride around other people. Teach little ones to use a bell when:
- Riding on a path with pedestrians or other bikers
- Turning a corner with a blind spot
- Passing people on a sidewalk or trail
Setup and Assembly
It doesn’t matter how great your child’s bike is if it isn’t properly assembled! Unfortunately, the quality of assembly by traditional retailers is low—which dramatically affects ride-ability. One option is to take a new bicycle to your local bike shop for assembly. However, this can be costly.
Want to avoid the hassle and frustration? Every bicycle from Guardian Bikes is inspected and approved by a US-based professional mechanic and comes 95-99% assembled.
Bike Geometry
The bike's geometry greatly affects how safe a bike is for a child. The metrics used include:
- Wheelbase: A wider wheelbase makes it easier to balance
- Lever and hand grip size: Smaller levers and hand grips allow the kids to grasp their handlebars and brakes easier, giving them more control.
-
Center of gravity: A low center of gravity allows kids to shift their weight much more fluidly.
How to help your child stay safe while riding a bike?
All the gear and bicycle equipment in the world won’t help if you don’t know the proper rules of bike maintenance and road safety. Here’s a quick safety checklist to review before your child hops in the saddle.
Bike maintenance checklist
- Tighten and size the seat correctly, while ensuring that the seat, wheels, and handlebars are firmly attached.
- Check the brakes to make sure the brake pads are properly contacting the rims. If you squeeze the lever and it touches the handlebar, the brake pads need to be adjusted.
- Oil the bike chain at least once a year - or any time it’s noisy, sticky, or you see rust (especially after rain or long-periods of disuse).
- Squeeze the tires to ensure they’re firm - not spongy or soft. You may need to air them up periodically. Check the side of the bike tires for the ideal air pressure.
At what age should your child ride a bike on a busy road?
You should wait until your child is at least twelve years old before letting them hit the road. Even then, you should ride alongside them, supervising them at all times, and also teach them important road rules and hand signals.
Road Rules
Teaching your kids basic road rules early will benefit them immensely, fostering independence, responsibility, and confidence. Here are some helpful bicycle safety tips for kids to stay safe on the road:
- Stick to roads with bike lanes whenever possible.
- Pay close attention to stop signs and red lights - if you’re on the street, you have to follow the same rules as drivers.
- In the US, as a rule of thumb, you should be riding with traffic, not against it. That means riding on the right-hand side of the trail, sidewalk, or road.
- Do not cross the street in an area that isn’t an intersection.
- Walk your bike when crossing an intersection.
- At every crosswalk, and when leaving the driveway, curb, or a confined space, check on all sides for incoming traffic and pedestrians.
- Always pass fellow bikers and pedestrians on their left. Be sure to call out “on your left!” as you approach.
- Don’t listen to headphones while you bike. You need to stay alert for noises from cars, pedestrians, and other bikers.
- Obey all other traffic and pedestrian laws in your area.
With these safety rules in their back pocket - and you or another responsible adult to accompany them - your kids will be ready to roll!
Hand Signals
Understanding how to use bicycle hand signals will prepare kids for riding on the street or busy trails. Not only are hand signals a fundamental part of cycling etiquette, but they’re also vital for communicating when your surroundings are too loud or you’re too far away to communicate verbally with others.
Here are the main bicycle hand signals kids should know:
- Left turn: Extend your left arm out sideways and point with your index finger.
- Right turn: Extend your right arm sideways. Alternatively, you can bend your left arm at a 90-degree angle with your hand pointing upward.
- Stopping/slowing: Extending your arm out, bend it at 90 degrees at the elbow with your hand pointed downwards.
Guardian Bikes: Your safety is our mission
The R&D team at Guardian Bikes has spent more than a decade creating a safer bike for kids - and we’re just getting started. Come learn more about what we do.
Sources:
Better Health Channel. Bicycle safety and children. https://www.betterhealth.vic.gov.au/health/HealthyLiving/bicycle-safety-and-children#:~:text=Supervise%20your%20child%20on%20the,a%20footpath%20or%20bike%20path.
HealthOne. Bike Safety for Kids. https://healthonecares.com/blog/detail.dot?id=f1a24f10-8bc7-4b22-
National Highway Traffic Safety Administration. Hand Signals. https://www.nhtsa.gov/sites/nhtsa.dot.gov/files/8009-handsignals.pdf


